Starbucks Cake Pop Recipe (Easy Copycat)
Highlighted under: Baked Wonders
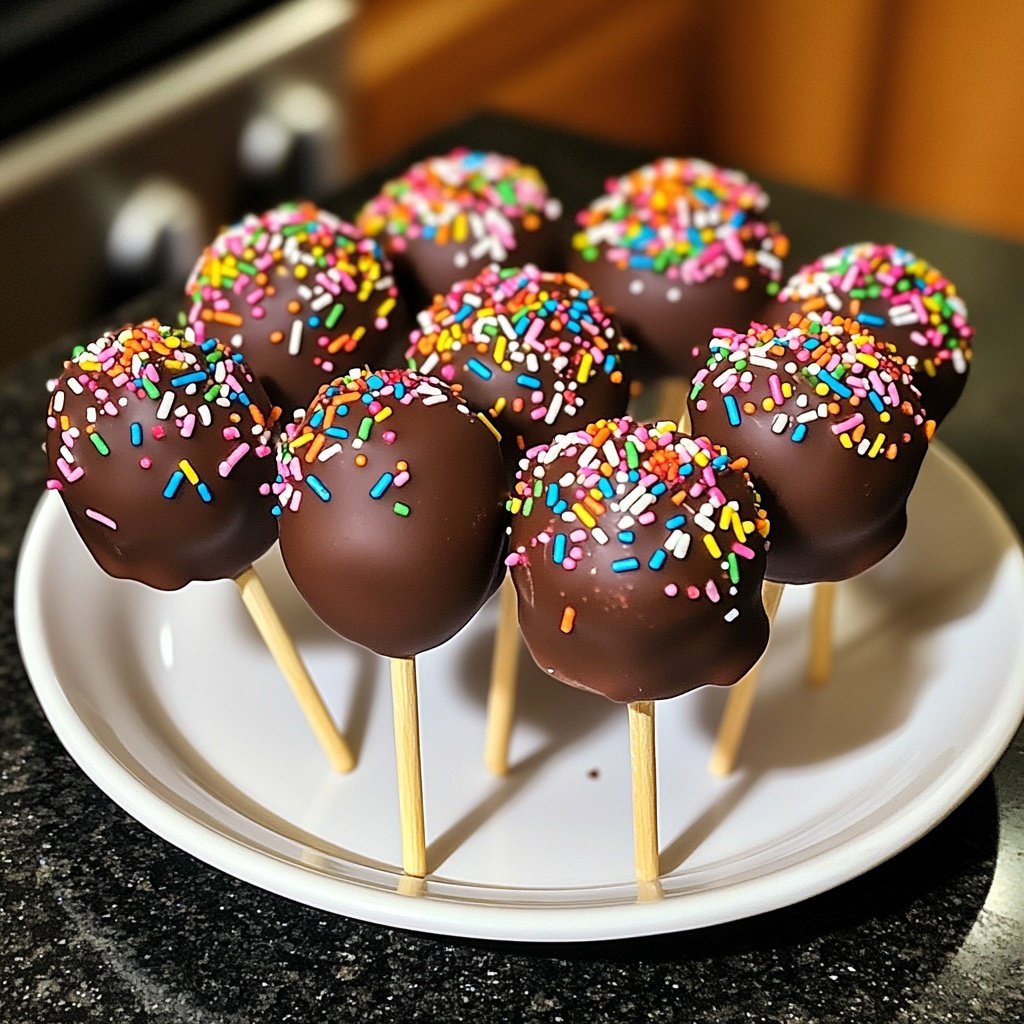
Enjoy the delightful taste of Starbucks cake pops right at home with this easy copycat recipe. Perfect for parties or a sweet treat!

This Starbucks cake pop recipe is a fun way to recreate the iconic treat at home. With a moist cake center and a sweet coating, these cake pops are perfect for any occasion!
Why You Will Love This Recipe
- Rich chocolate flavor paired with fresh orange zest
- Creamy texture that melts in your mouth
- Perfect for celebrations or as a sweet indulgence
The Joy of Homemade Cake Pops
Making cake pops at home is not just a fun activity; it’s a great way to bond with family and friends. Whether you’re planning a birthday party, a holiday gathering, or just a sweet afternoon treat, these cake pops are sure to impress. The process of baking, crumbling, and decorating is not only straightforward but also allows for personal creativity. You can customize your cake pops with different flavors and decorations to suit any occasion.
Homemade cake pops also offer the benefit of using high-quality ingredients. Unlike store-bought versions that may contain preservatives and artificial flavors, you can control what goes into your cake pops. This means you can use organic chocolate, fresh eggs, and even substitute healthier options if you wish. The end result is a treat that’s not only delicious but also made with love and care.
Tips for Perfect Cake Pops
To achieve the best results with your cake pops, it’s important to ensure that your cake is properly baked and cooled before crumbling. If the cake is too warm, it can become mushy and difficult to form into balls. On the other hand, if it’s too dry, the pops may not hold together well. Aim for a moist cake that holds its shape when rolled.
When melting the chocolate coating, be patient. Melt the chocolate in short bursts in the microwave, stirring frequently to avoid burning it. If the melted chocolate is too thick, you can thin it out with a little bit of vegetable oil or shortening. This will help you achieve a smooth and even coating on your cake pops.
Storage and Serving Suggestions
Once your cake pops are set and the chocolate has hardened, you can store them in an airtight container at room temperature for up to a week. If you plan to make them in advance, consider freezing them. Just make sure they’re wrapped well to prevent freezer burn. When you’re ready to enjoy them, let them thaw at room temperature for a few hours.
Cake pops are incredibly versatile when it comes to serving. You can display them in a decorative jar for a charming centerpiece or package them as party favors. They also make great additions to dessert tables or dessert platters, adding a pop of color and fun. No matter how you serve them, they’re sure to be a hit!
Ingredients
For the Cake Pop Base
- 1 cup of chocolate cake mix
- 1/2 cup of water
- 1/4 cup of vegetable oil
- 1 large egg
For the Coating
- 1 cup of chocolate melting wafers
- Sprinkles (optional)
- Lollipop sticks
Make sure to have all ingredients ready before you start!
Instructions
Bake the Cake
Preheat your oven to 350°F (175°C). In a mixing bowl, combine the chocolate cake mix, water, vegetable oil, and egg. Mix until well combined. Pour the batter into a greased cake pan and bake for 30 minutes or until a toothpick comes out clean. Allow to cool.
Form the Cake Pops
Once the cake has cooled, crumble it into a large bowl. Using your hands, form small balls (about 1 inch in diameter) from the crumbled cake. Place them on a baking sheet lined with parchment paper.
Melt the Coating
In a microwave-safe bowl, melt the chocolate melting wafers according to the package instructions. Dip the tip of a lollipop stick into the melted chocolate and insert it into the center of each cake ball.
Coat the Cake Pops
Once the chocolate has set slightly, dip each cake pop into the melted chocolate, ensuring it is fully coated. Allow excess chocolate to drip off and decorate with sprinkles if desired. Place the cake pops upright in a styrofoam block or similar surface to set.
Let Set and Enjoy
Allow the cake pops to cool completely until the chocolate hardens. Enjoy your homemade Starbucks cake pops!
These cake pops can be stored in an airtight container for a few days.
Pro Tips
- For added flavor, consider mixing in a teaspoon of vanilla extract into the cake batter.
Variations to Try
While this recipe features a rich chocolate cake base, feel free to experiment with different flavors! Vanilla cake, red velvet, or even lemon cake can provide a unique twist on this classic treat. Pairing different cake flavors with complementary coatings and sprinkles can lead to delightful combinations that will surprise your guests.
You can also customize your cake pops by adding fillings before coating. Consider using fruit preserves, cream cheese frosting, or even flavored ganache for an extra layer of taste. These additions can elevate your cake pops from simple treats to gourmet delights, perfect for special occasions or just to satisfy your sweet tooth.
Perfect Pairings
These Starbucks-style cake pops pair wonderfully with a cup of coffee or tea, making them an ideal accompaniment for your afternoon break. You can also serve them at parties alongside a selection of beverages, from milkshakes to cocktails, to cater to various taste preferences.
If you're hosting a gathering, consider creating a cake pop bar where guests can decorate their own pops. Provide different coatings, sprinkles, and toppings, allowing everyone to get creative. This not only adds an interactive element to your party but also makes for great entertainment and memorable experiences!
Questions About Recipes
→ Can I use a different cake flavor?
Yes, you can use any cake mix flavor you prefer.
→ How do I store the cake pops?
Store them in an airtight container at room temperature for up to 3 days.
→ Can I freeze cake pops?
Yes, you can freeze them before coating for later use. Just make sure to let them thaw before dipping.
→ What can I use instead of melting wafers?
You can use chocolate chips, but melting wafers give a smoother coating.
Starbucks Cake Pop Recipe (Easy Copycat)
Created by: Natalie Warren
Recipe Type: Baked Wonders
Skill Level: Beginner
Final Quantity: 12 cake pops
What You'll Need
For the Cake Pop Base
- 1 cup of chocolate cake mix
- 1/2 cup of water
- 1/4 cup of vegetable oil
- 1 large egg
For the Coating
- 1 cup of chocolate melting wafers
- Sprinkles (optional)
- Lollipop sticks
How-To Steps
Preheat your oven to 350°F (175°C). In a mixing bowl, combine the chocolate cake mix, water, vegetable oil, and egg. Mix until well combined. Pour the batter into a greased cake pan and bake for 30 minutes or until a toothpick comes out clean. Allow to cool.
Once the cake has cooled, crumble it into a large bowl. Using your hands, form small balls (about 1 inch in diameter) from the crumbled cake. Place them on a baking sheet lined with parchment paper.
In a microwave-safe bowl, melt the chocolate melting wafers according to the package instructions. Dip the tip of a lollipop stick into the melted chocolate and insert it into the center of each cake ball.
Once the chocolate has set slightly, dip each cake pop into the melted chocolate, ensuring it is fully coated. Allow excess chocolate to drip off and decorate with sprinkles if desired. Place the cake pops upright in a styrofoam block or similar surface to set.
Allow the cake pops to cool completely until the chocolate hardens. Enjoy your homemade Starbucks cake pops!
Extra Tips
- For added flavor, consider mixing in a teaspoon of vanilla extract into the cake batter.
Nutritional Breakdown (Per Serving)
- Calories: 150 kcal
- Total Fat: 7g
- Saturated Fat: 4g
- Cholesterol: 30mg
- Sodium: 75mg
- Total Carbohydrates: 20g
- Dietary Fiber: 1g
- Sugars: 10g
- Protein: 2g