Homemade Peanut Butter Cups Classic
Highlighted under: Baked Wonders
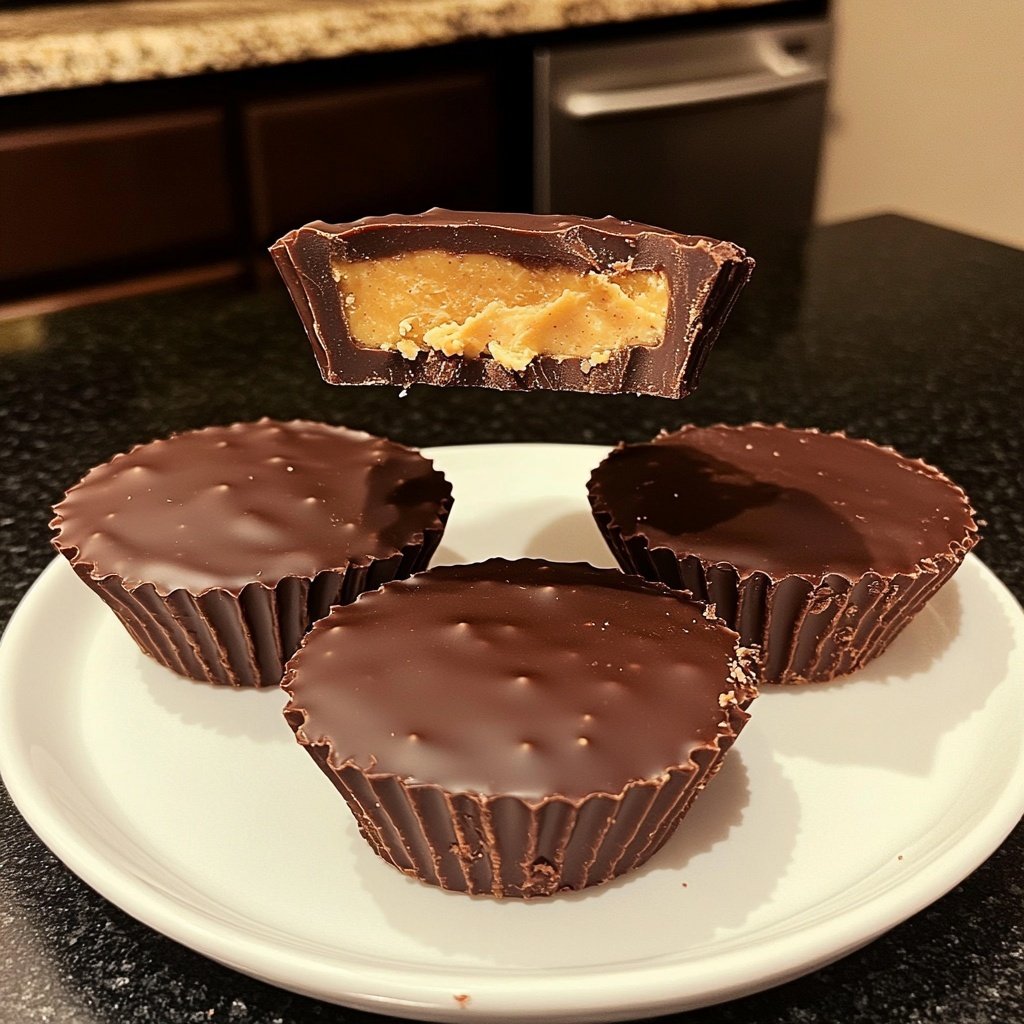
I absolutely love making homemade peanut butter cups! They're so easy to whip up and the combination of rich chocolate and creamy peanut butter is irresistible. Whenever I make these, they're always a huge hit with friends and family. I've found that the key to achieving that perfect balance is using high-quality chocolate and letting the layers set properly. This recipe is a delightful treat that satisfies my sweet tooth while being simple to make. Trust me, once you try these, you'll never want store-bought again!
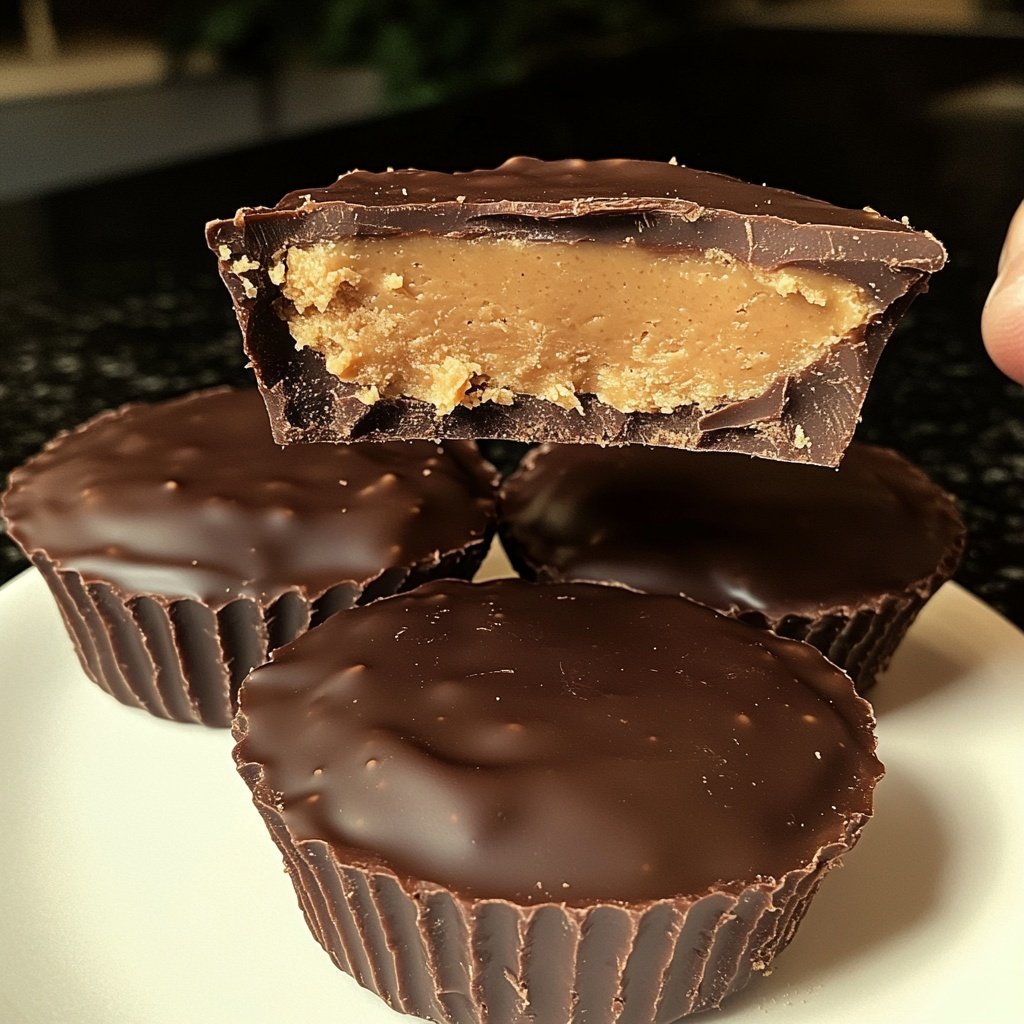
Making homemade peanut butter cups has become one of my go-to recipes for satisfying my chocolate cravings. I love experimenting with different types of chocolate, and I often find that dark chocolate adds a wonderful depth of flavor that pairs beautifully with the peanut butter. The best part is that I know exactly what's in them, making me feel better about indulging.
What I really enjoy is watching the mixture come together. I typically melt the chocolate in the microwave in 30-second intervals to ensure it doesn’t seize. Once I pour it into the molds and add the peanut butter layer, the excitement builds as I chill them to firm up. I always make a double batch because they disappear so quickly!
Why You'll Love These
- Decadent combination of chocolate and peanut butter
- Homemade freshness you can't resist
- Customizable fillings to suit your taste
Tips for Perfect Chocolate Melting
Melting chocolate can be tricky, but with a few simple techniques, you can achieve a smooth and glossy finish. Make sure to use a microwave-safe bowl and reduce the power to medium, if possible, to avoid scorching the chocolate. Stir every 30 seconds until the chocolate is just melted; it will continue to soften with residual heat. If you notice any lumps, give it a vigorous stir until they dissolve, ensuring a perfectly silky texture.
If you prefer using a double boiler, heat water in the bottom pot and place the chocolate in the top pot. Ensure the water doesn’t touch the chocolate to prevent moisture from ruining the texture. This method allows for more control over the melting process, reducing the chances of overheating. Regardless of your choice, avoid using chocolate that’s past its expiration date, as it may not melt evenly.
Understanding Peanut Butter and its Role
The type of peanut butter you use plays an essential role in the texture and flavor of your peanut butter cups. Creamy peanut butter works best for a smooth filling, creating a delightful contrast with the firm chocolate exterior. However, if you prefer a chunkier bite, you can substitute crunchy peanut butter; just note that it will alter the overall texture. Try using natural peanut butter for a healthier option, but be aware it often contains less sugar, so you might need to adjust the amount of powdered sugar in your filling.
When mixing the peanut butter filling, aim for a smooth consistency without any lumps, which can affect the mouthfeel. If your peanut butter is too thick, consider warming it slightly in the microwave (15-20 seconds should suffice) to make it easier to mix. Additionally, for those with nut allergies, sunflower seed butter is an excellent alternative that mimics the creamy texture without nuts.
Customizing Your Peanut Butter Cups
One of the best parts about making homemade peanut butter cups is the ability to customize each batch to your liking. Consider adding a layer of crushed pretzels, sea salt, or even a dash of cinnamon to the peanut butter mixture for an extra flavor kick. You can also play with the chocolate: dark chocolate is a classic, but you might enjoy milk chocolate or even white chocolate for a sweeter alternative that pairs nicely with peanut butter.
If you want to make these peanut butter cups a bit healthier, you can swap some of the chocolate for cacao powder, provided you mix it with a bit of coconut oil to maintain that smooth texture. Experimenting with different flavored extracts, like almond or mint, can also elevate your treat, bringing new and exciting layers to each bite.
Ingredients
Gather these simple ingredients to make your delicious homemade peanut butter cups:
Ingredients
- 1 cup dark chocolate chips
- 1 cup creamy peanut butter
- 1/2 cup powdered sugar
- 1/2 teaspoon vanilla extract
- 1/4 teaspoon salt
- Extra chocolate for drizzling (optional)
Make sure to measure your ingredients accurately for the best results!
Instructions
Here’s how you can create your own homemade peanut butter cups:
Melt the Chocolate
In a microwave-safe bowl, melt the dark chocolate chips in 30-second intervals, stirring in between until smooth.
Prepare the Molds
Line a muffin tin with paper liners. Spoon a small amount of melted chocolate into the bottom of each liner, approximately 1 tablespoon, and spread it evenly.
Make the Peanut Butter Filling
In a separate bowl, mix together the peanut butter, powdered sugar, vanilla extract, and salt until well combined.
Layer the Filling
Once the chocolate in the molds has set, add a tablespoon of the peanut butter mixture on top of the chocolate layer, smoothing it out.
Top with More Chocolate
Spoon the remaining melted chocolate over the peanut butter layer, ensuring it's fully covered.
Chill to Set
Refrigerate the muffin tin for about 15-20 minutes, or until the chocolate is hardened.
Serve
Remove the cups from the muffin tin, peel away the liners, and enjoy your homemade peanut butter cups!
Feel free to experiment by adding toppings or different nut butters!
Pro Tips
- For an extra crunch, consider adding crushed nuts or pretzels into the peanut butter filling before topping with chocolate.
Storage and Make-Ahead Tips
These homemade peanut butter cups can be made in advance and stored for up to two weeks in an airtight container in the refrigerator. This makes them a perfect candidate for meal prep or for having on hand as a quick treat. If you plan to freeze them, wrap each cup individually in plastic wrap and store them in a freezer-safe container. Properly stored, they can last for up to three months. When you’re ready to enjoy, simply let them thaw in the fridge for a few hours.
When storing, ensure the chocolate is completely set to avoid sticking. If your cups are subject to high humidity environments, consider placing a small piece of parchment paper between each cup to prevent them from sticking together. A simple tip: if you notice condensation forming in the container after freezing, allow the cups to sit out at room temperature for a few minutes before digging in.
Troubleshooting Common Mistakes
If your chocolate doesn't set properly after pouring it over the peanut butter, it can be due to insufficient cooling or using chocolate that is too cool when topping. Make sure the chocolate is warm but not hot when layering it over the peanut butter. If the chocolate layer cracks upon slicing, it's an indication that it was cooled too rapidly in the refrigerator. Instead, allow them to reach room temperature before cutting into them for a smoother finish.
Should you find the peanut butter filling too sweet or rich, don't hesitate to adjust the sweetness level next time. Adding a pinch of more salt can enhance the flavor and balance the sweetness effectively. In case of slight stubbornness in peeling off the paper liners, briefly placing the cups in the freezer for a few minutes can help loosen the liners, making for an easier release.
Questions About Recipes
→ Can I use milk chocolate instead of dark chocolate?
Absolutely! Milk chocolate will give a sweeter flavor, but the recipe works well with both.
→ How should I store my peanut butter cups?
Store them in an airtight container in the refrigerator for up to two weeks.
→ Can I make these vegan?
Yes! Use dairy-free chocolate and natural nut butter to keep it vegan-friendly.
→ What can I use instead of peanut butter?
You can substitute with almond butter, cashew butter, or any nut or seed butter of your choice.
Homemade Peanut Butter Cups Classic
What You'll Need
Ingredients
- 1 cup dark chocolate chips
- 1 cup creamy peanut butter
- 1/2 cup powdered sugar
- 1/2 teaspoon vanilla extract
- 1/4 teaspoon salt
- Extra chocolate for drizzling (optional)
How-To Steps
In a microwave-safe bowl, melt the dark chocolate chips in 30-second intervals, stirring in between until smooth.
Line a muffin tin with paper liners. Spoon a small amount of melted chocolate into the bottom of each liner, approximately 1 tablespoon, and spread it evenly.
In a separate bowl, mix together the peanut butter, powdered sugar, vanilla extract, and salt until well combined.
Once the chocolate in the molds has set, add a tablespoon of the peanut butter mixture on top of the chocolate layer, smoothing it out.
Spoon the remaining melted chocolate over the peanut butter layer, ensuring it's fully covered.
Refrigerate the muffin tin for about 15-20 minutes, or until the chocolate is hardened.
Remove the cups from the muffin tin, peel away the liners, and enjoy your homemade peanut butter cups!
Extra Tips
- For an extra crunch, consider adding crushed nuts or pretzels into the peanut butter filling before topping with chocolate.
Nutritional Breakdown (Per Serving)
- Calories: 180 kcal
- Total Fat: 12g
- Saturated Fat: 5g
- Cholesterol: 1mg
- Sodium: 85mg
- Total Carbohydrates: 16g
- Dietary Fiber: 1g
- Sugars: 10g
- Protein: 6g